One of my first experiences of making pastry was when in my home-ec class at the age of 12. We were making Canadian Butter tarts. If you’ve never had butter tarts before, you don’t know what you’re missing! They are one of my all-time favourite sweet treats. So imagine my excitement when I brought home a batch of my very own.
Well, I proudly handed them out to my parents and aunt to try. My aunt finished her tart, but my mother, as straight-talking as ever was the only person to vocalise what I had already noticed - but chose to ignore - that the pastry had an awful bitter aftertaste. Frankly, the butter tarts were not very good at all.
I concluded that making pastry was too difficult. Besides, why would any sane person go through the trouble when pre-made pastry is so easy to come by?
Bee Wilson made a comment in the fourth chapter of Consider the Fork, that caught my attention:
“The pounding [of lamb for kibbe] - which previously took two educated women an hour to perform - now takes a minute’s pulsing in a [food processor]. This is exhilarating; but is also a little bit slighting, the the skilful hands that that had pounded kibbe for so many generations. It is what happens whenever a machine replaces the labour of an artisan: the artisan’s skills become devalued.”
She has a point: I was hugely proud of my first attempt at pastry making all those years ago. The fact that it was inedible was another matter! So if at first you don’t succeed….
Delia Smith’s instructions were perfect: easy to follow and just the right amount of ‘food science’ to explain the reasons behind particular steps. I’ve shortened the instructions to save space here, but it’s worth reading Delia’s step by step guide.
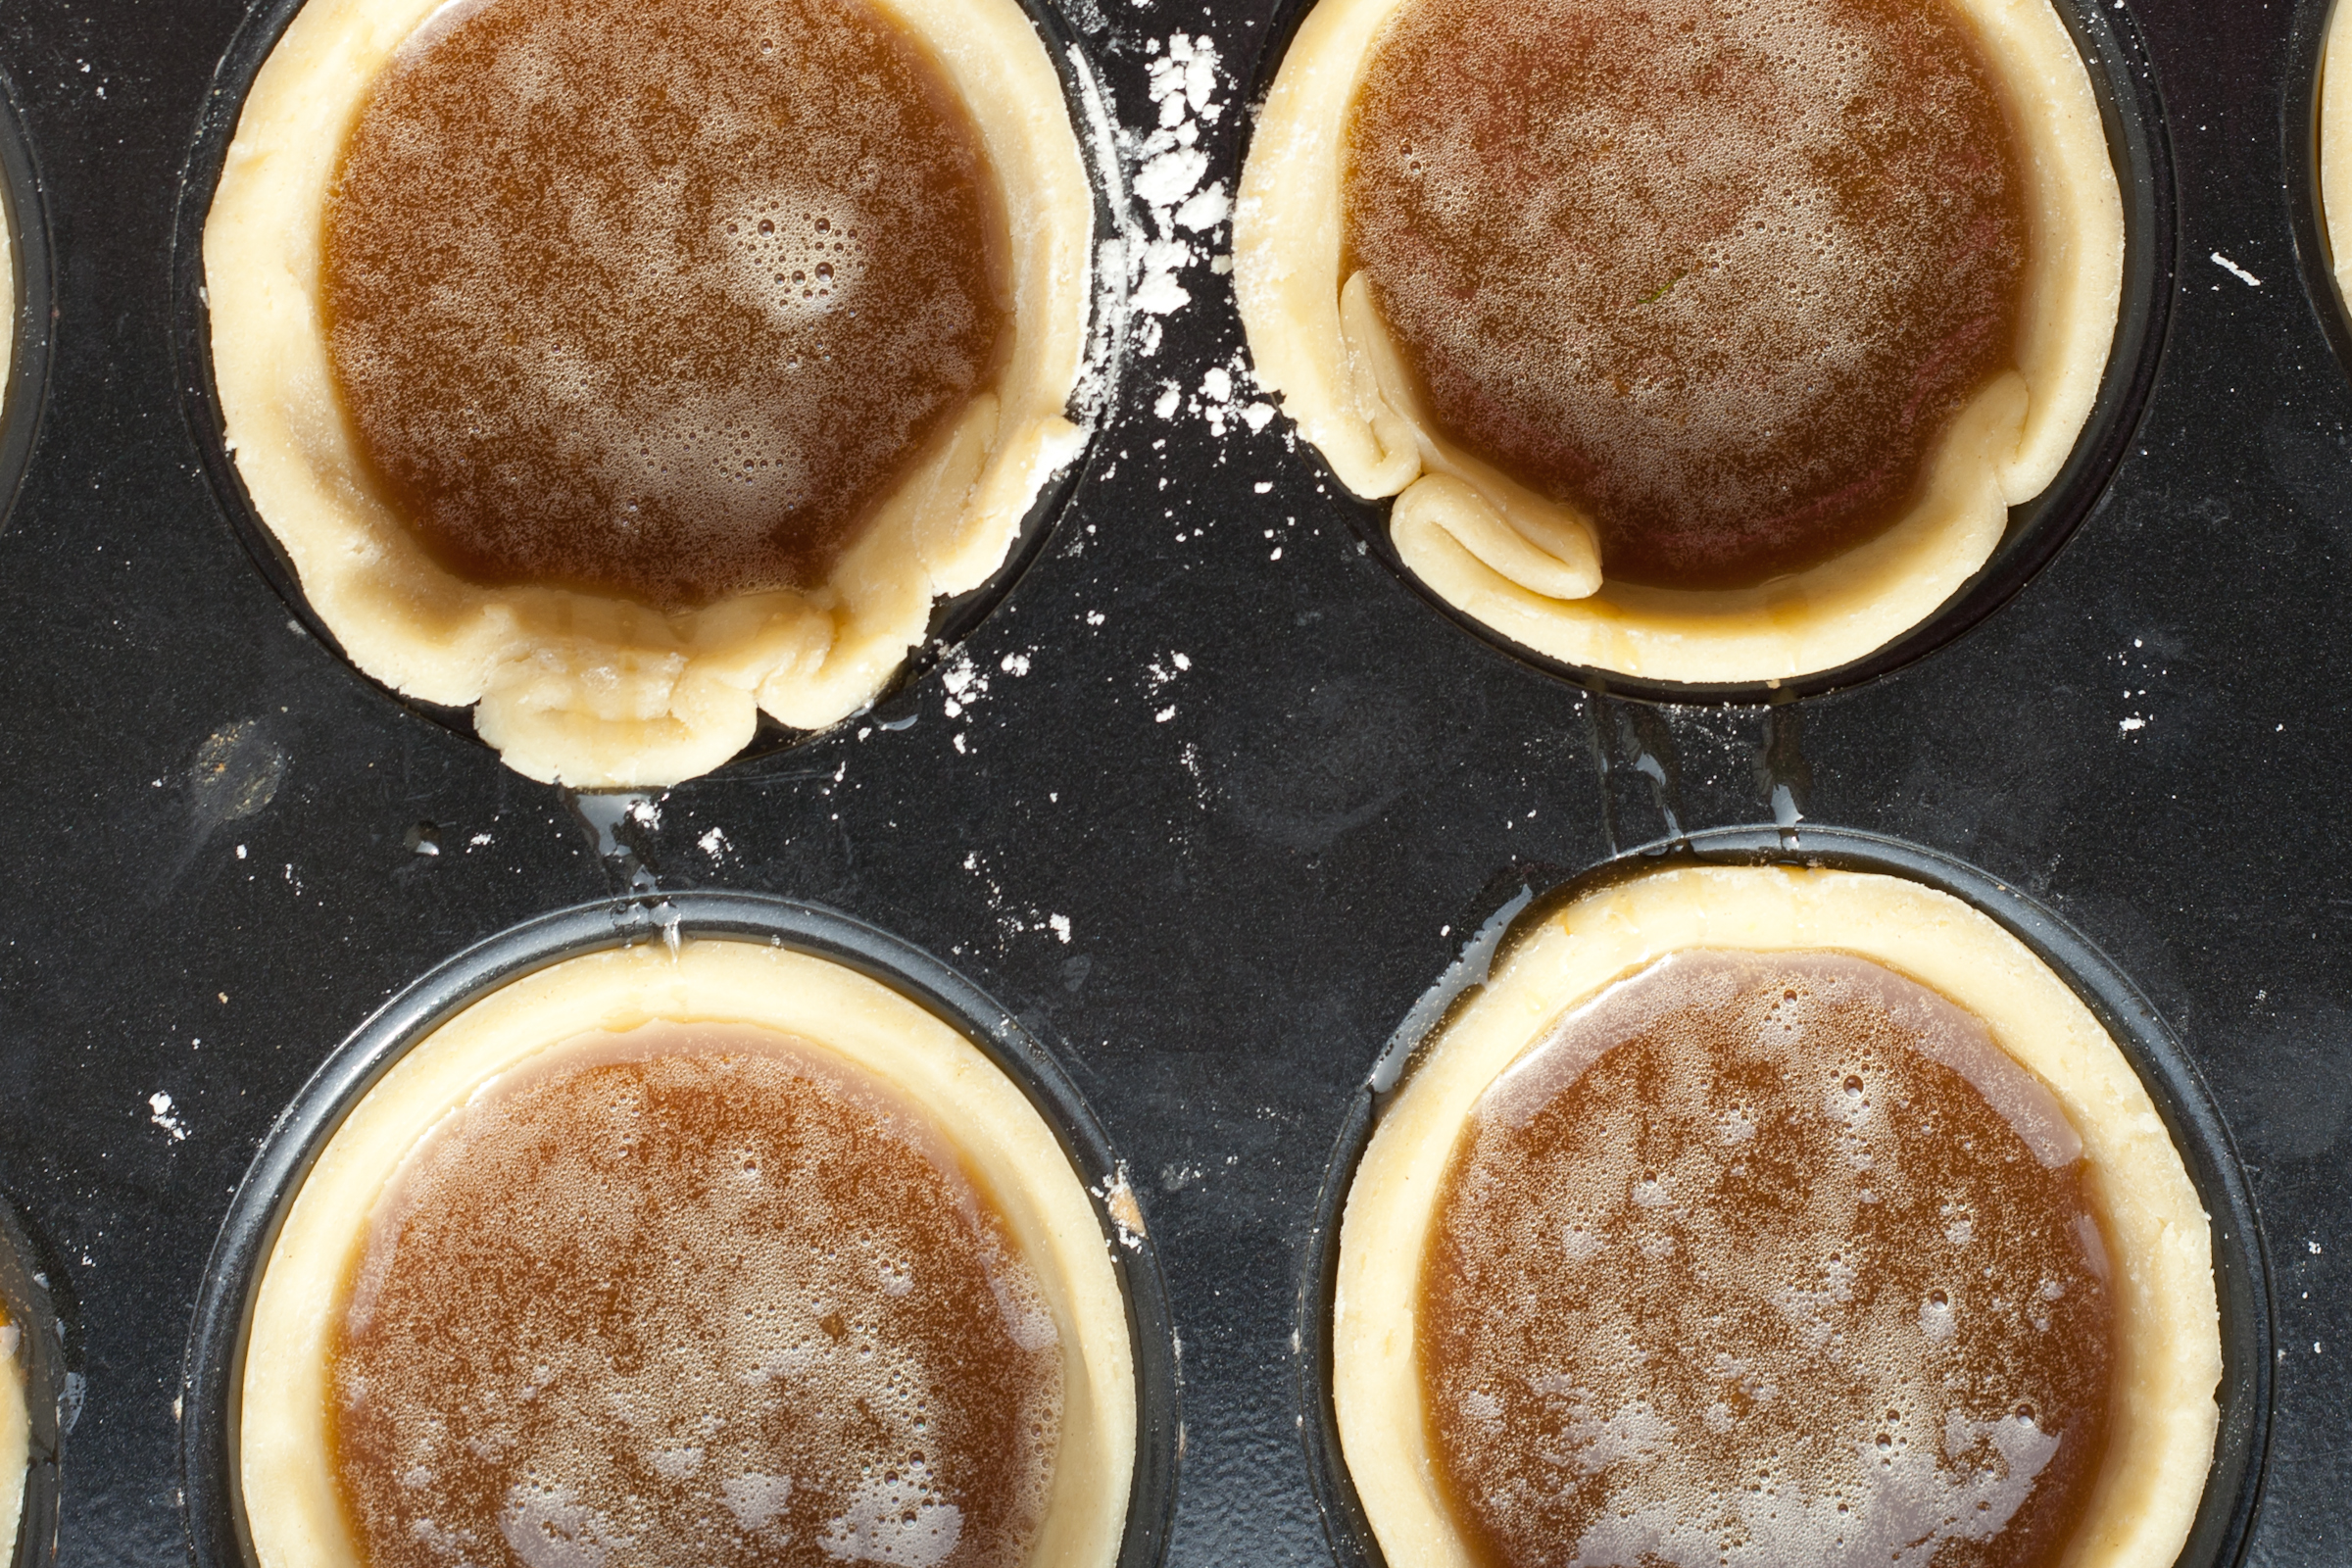
This recipe should make 12 deep tart cases (perfect for the Canadian Butter Tart recipe later this week); unless you’re rushed for time like me and don’t roll them out thin enough.
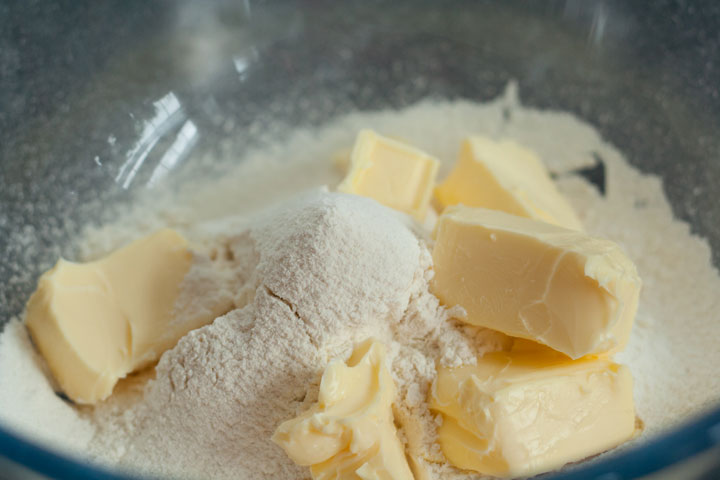
230 g plain soft white flour at room temperature 100 g unsalted butter pinch of salt cold water
Sift the flour and a pinch of salt, holding the sieve high above the bowl, so that as much air as possible is incorporated.
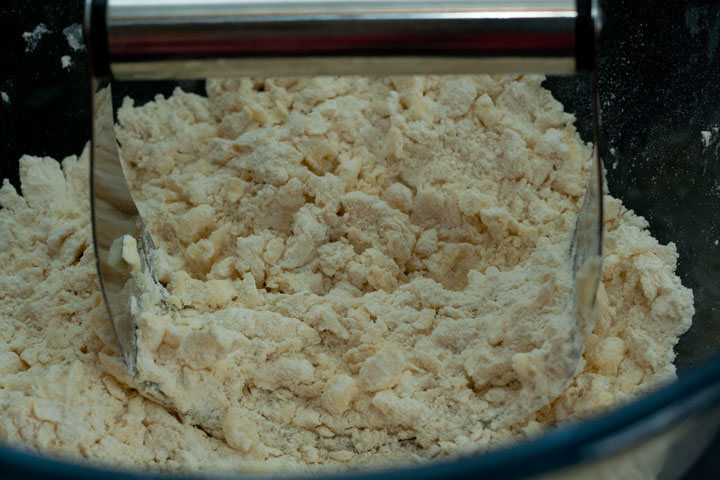
Cut the butter into small pieces and add to the flour. Use a knife or pastry cutter to mix the butter into the flour until evenly blended. Then use your fingertips and rub the mixture as lightly as possible - this will take concentration
Delia’s food science bit: “The butter needs to be [room temperature so that] incorporated into the flour as quickly as possible – if it is too cold, you will have to rub it in for twice as long; the fat will become oily with the warmth of your hands and the pastry will be difficult to roll out. As you lightly rub the fat into the flour, lift it up high and let it fall back down into the bowl, which again means that air is being incorporated all the time, and air is what makes pastry light. Speed is also what's needed here, so don't start daydreaming and go on rubbing all day, but just long enough to make the mixture crumbly with just a few odd lumps here and there. Keep cool – this means yourself, psychologically, as well, because keeping things as cold as possible is important. If the fat becomes oily because the rubbing-in takes longer and everything is too warm, what happens is it coats more flour grains than it should. This means the flour is unable to absorb enough water and the pastry will crumble and be difficult to roll out.”
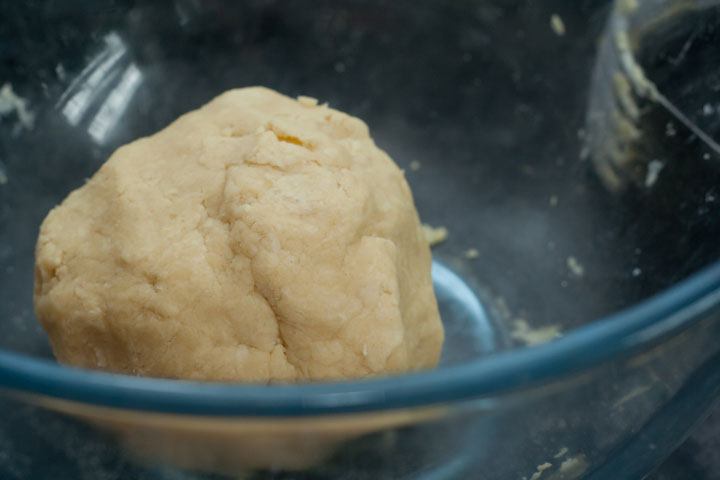
Turn the cold water tap on and let it get as cold as possible. Start with adding about 1 tablespoon, sprinkling it evenly all around the flour mixture. With the knife or pastry cutter, start bringing the dough together. When it starts to cling together, switch to using your fingertips.
Add more water a little at a time, if you need it. All the butter and flour should be incorporated into a ball - leaving the bowl clean. Delia’s explanation: “Exact amounts can never be specified because the amount of water that flour absorbs varies. Too much water will make the pastry sticky and difficult to roll out, and when it's baked it will be hard; too little, on the other hand, will also make rolling out a problem and the baked result will be too crumbly.”
Let the pastry rest in a plastic bag or wrapped in cling film, in the refrigerator for a minimum 30 minutes (or up to 3 days). The dough should become more ‘elastic’ in texture as the gluten reacts with the water. This elasticity should make the pastry easier to roll out, without cracking.